This guide explains how to use dadan directly from your browser. Dadan lets you record and share videos without installing any apps or going through a complex setup.
Here, you’ll learn how to get started on supported browsers, explore key features, and find tips for a smoother experience.
Installing the dadan browser extension #
Install the dadan extension in your browser to use dadan. It enables you to record and share videos directly without any complex setup.
Supported browsers #
Ensure you’re using a supported browser for the best experience with the dadan browser extension:
- Google Chrome
- Microsoft Edge
See our complete installation guide for the dadan Browser Extension for detailed installation steps.
Accessing the dadan browser extension #
To get started with dadan in your browser:
- Click the dadan icon in the browser toolbar. The dadan browser extension will open.
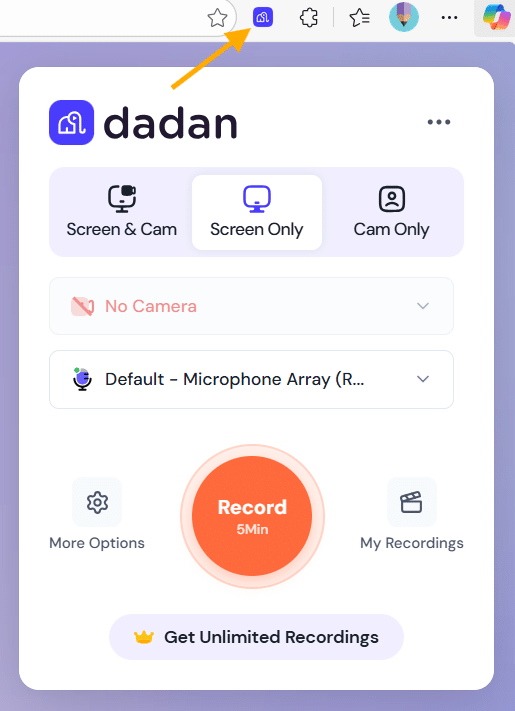
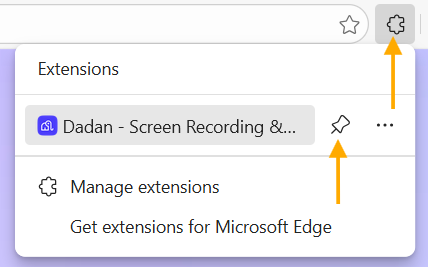
Note: If you don’t find the dadan extinction icon, click on the browser extensions icon to pin the dadan icon and add it to your extensions bar.
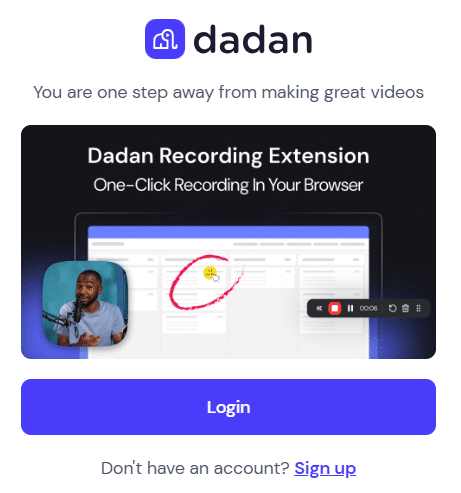
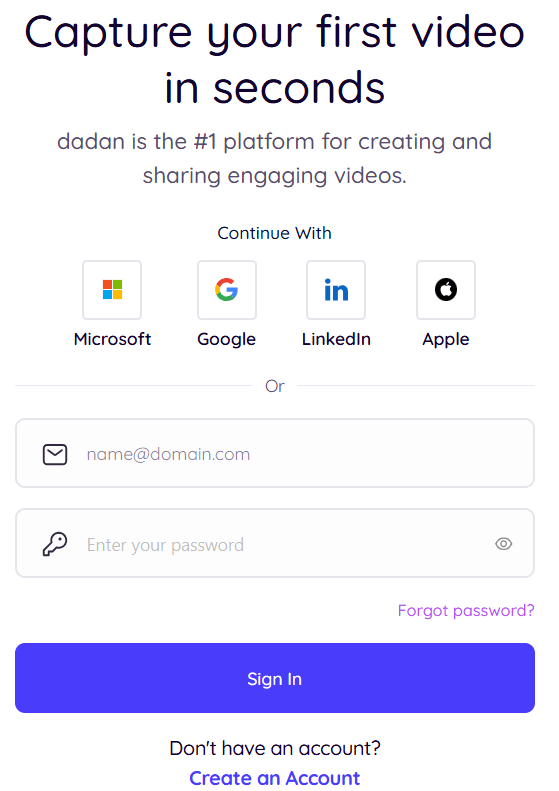
- Log in / Sign up using your dadan credentials, Google, or Microsoft account for seamless access.
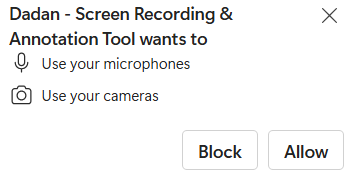
- Allow microphone and camera access:
- Two pop-up windows will appear asking for permission to use your microphone and camera.
- Click Allow to grant dadan permanent access to your microphone and camera for video recording.
Recording videos #
Once you’re logged in, you’ll see the simple window with the Record button. Follow these simple steps to start recording:
- Review the recording options before clicking Start Recording.
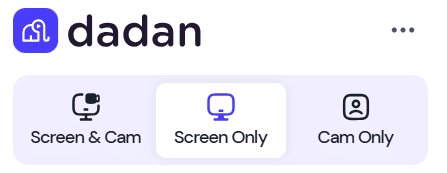
- Select what you want to record:
- Screen & Cam: Record your screen while your face appears in the video corner.
- Screen Only: Ideal for presentations, tutorials, or software demos.
- Cam Only: Perfect for personal messages or interviews.
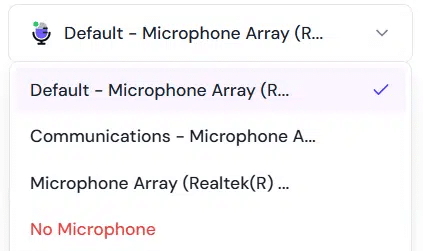
- Choose audio source:
- Make sure your microphone is selected for clear audio.
- You will see an audio indicator that ensures your selected option captures sound.
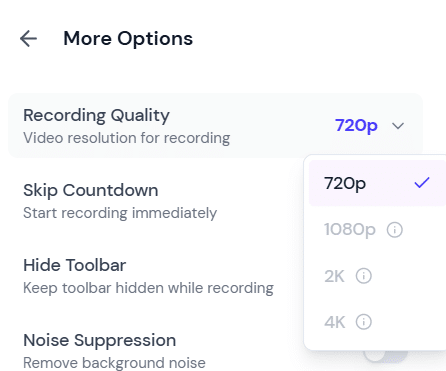
- Adjust the Video Quality:
- Click More Options.
- Select 4K, 2K, 1080p, or 720p according to your needs.
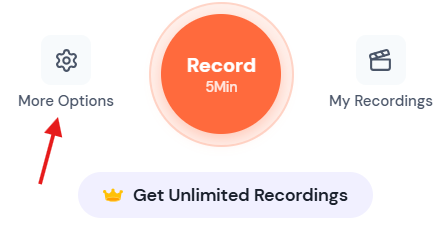
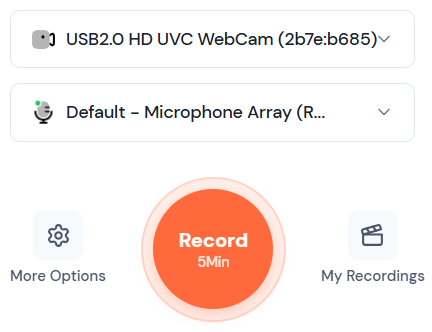
- Hit Record:
- Once you’re ready, click Record.
- Choose what to share:
- The part of your screen do you want to capture:
- A Tab in your browser.
- Window.
- Entire Screen.
- The part of your screen do you want to capture:
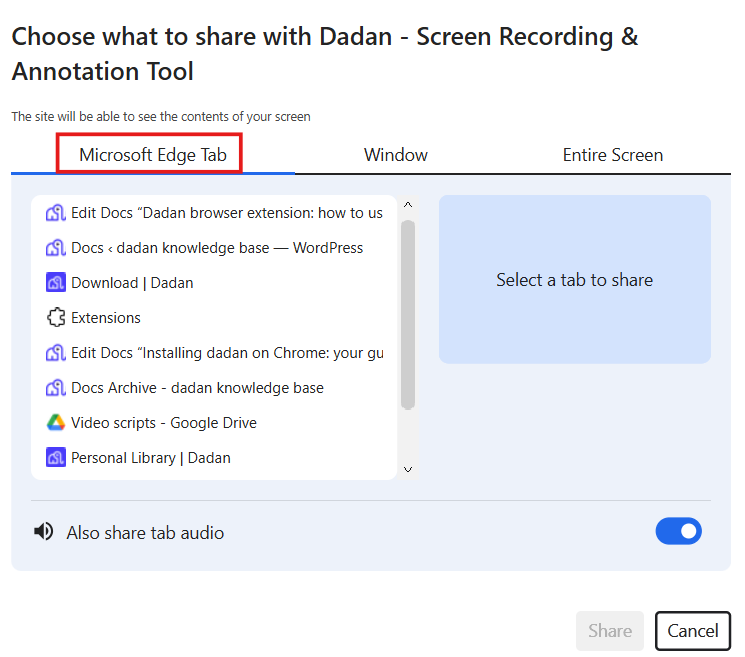
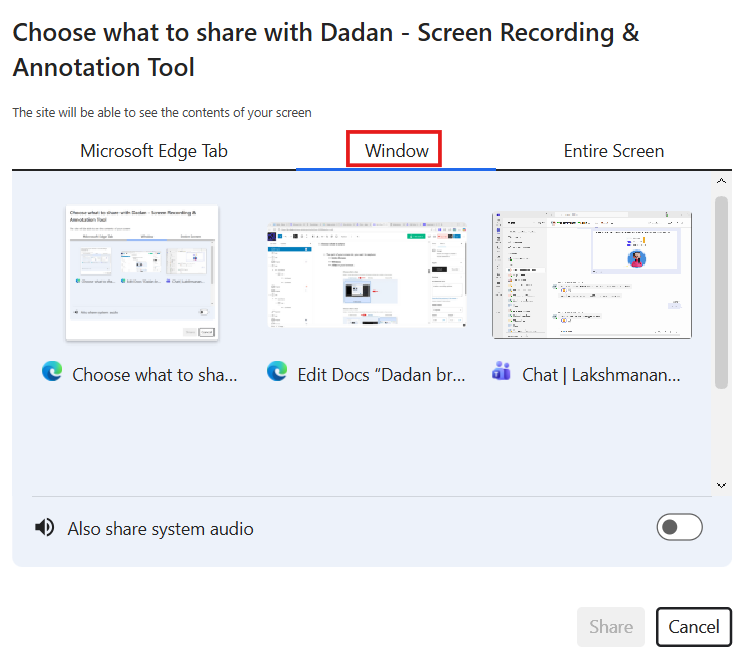
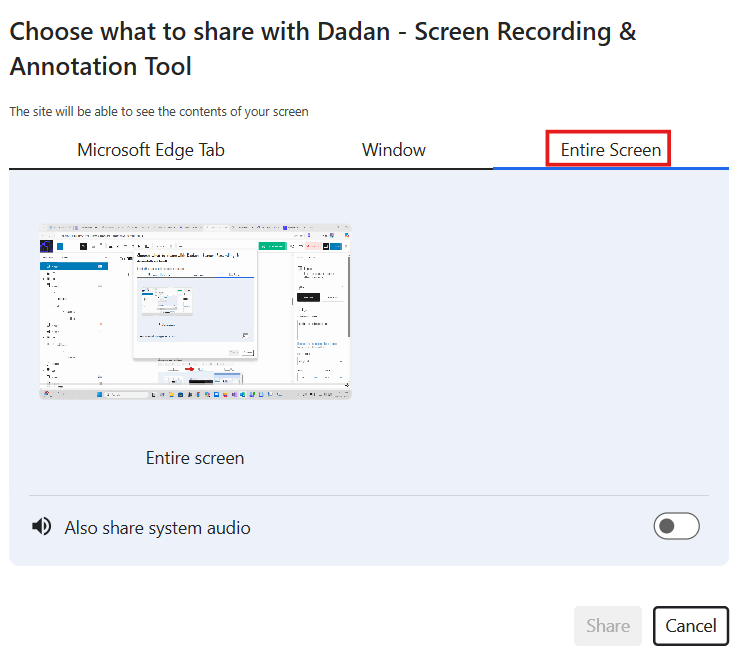
- Choose the preferred option and click Share.
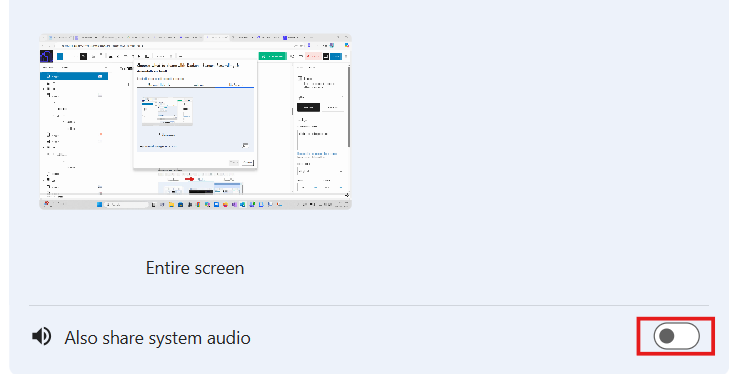
- Record system audio:
- Check the Also share system audio option to include computer audio in your recording.
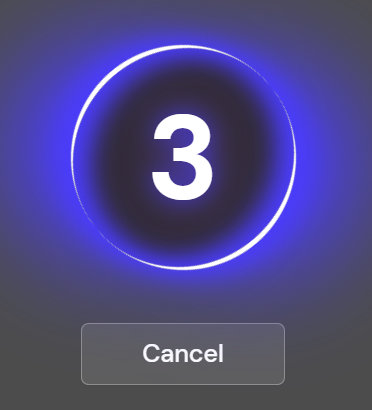
- Wait for the countdown:
- You’ll see a three-second countdown before the recording begins.
- Stop recording:
- When finished, click the Stop sharing button below.

Recording tool bar options #
While recording, the dadan recording tool bar provides more useful options to enhance your video. These options ensure flexibility and control over your recording process, helping you create polished, professional videos effortlessly.
- Pause/Resume: Temporarily pause and resume your recording as needed.
- Annotation Tools: Highlight or draw on your screen to emphasize key points.
- Cancel Recording: Stop and discard the recording if you need to start over.
- Timer: Displays how long you’ve been recording.
To view these options:
- Click on the double arrow button.

- The extended recording bar options will appear, giving you more control over screen recording, such as enabling/disabling the mic and camera.

- The pencil button lets you draw shapes, write text, and add emojis to your screen recording.

- The mouse pointer button lets you customize your mouse pointer appearance with several options to suit your needs.

- To cancel the recording, click the trash button. To restart, click the recycle button.
Managing your recorded video #
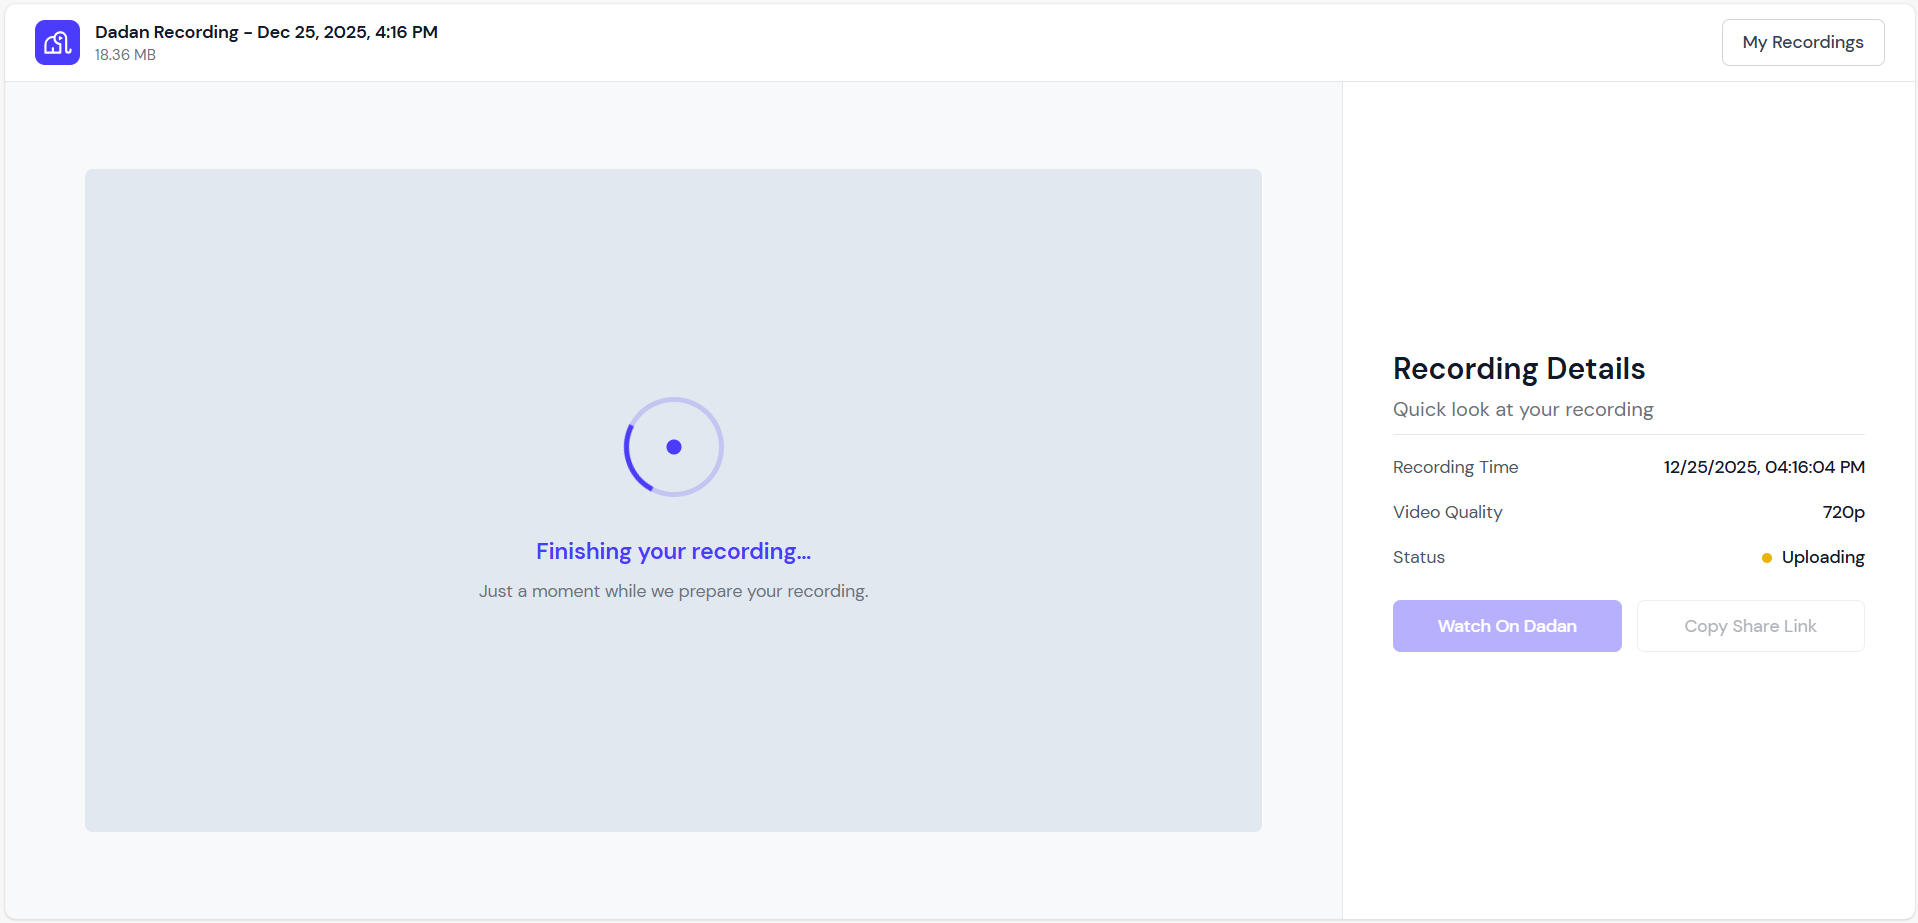
After stopping the recording, you’ll be directed to your video, where you can play it, share it using the Copy Share Link button, or watch it in the dadan web app.
Opening dadan web app #
The dadan web app allows you to access, manage, and share all your recordings. Here’s how to open it and start exploring your video library:
- Click the My Recordings link in the bottom-right corner of the dadan extension window.
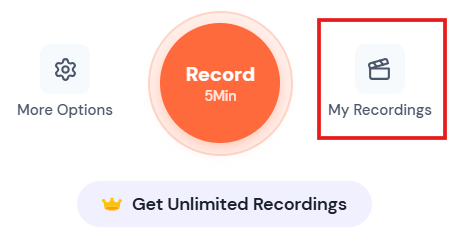
This will take you to your video Personal Library, where you can view all the videos you saved in your account. Here’s what you can do:
- Play: Click on any video to open it and play it back.

- Share: Use the Share Your Video button in the video playing page to get a link to the video. You can send this link via email, social media, or any other platform.

- Delete: If you no longer need a video, click the Delete option from the three-dot “…” menu to remove it from your personal video library.

Other options #
The other options in the extension settings include:
- Skip Countdown: Start recording immediately.
- Hide Toolbar: Keep the toolbar hidden while recording.
- Noise Suppression: Remove background noise.


Limitations of the dadan Chrome extension #
There are a few restrictions when using the Chrome extension, particularly with the camera bubble display, including:
- The extension won’t appear when viewing a PDF in Chrome or in an empty tab. Instead, it will open a new tab labeled dadan Playground.
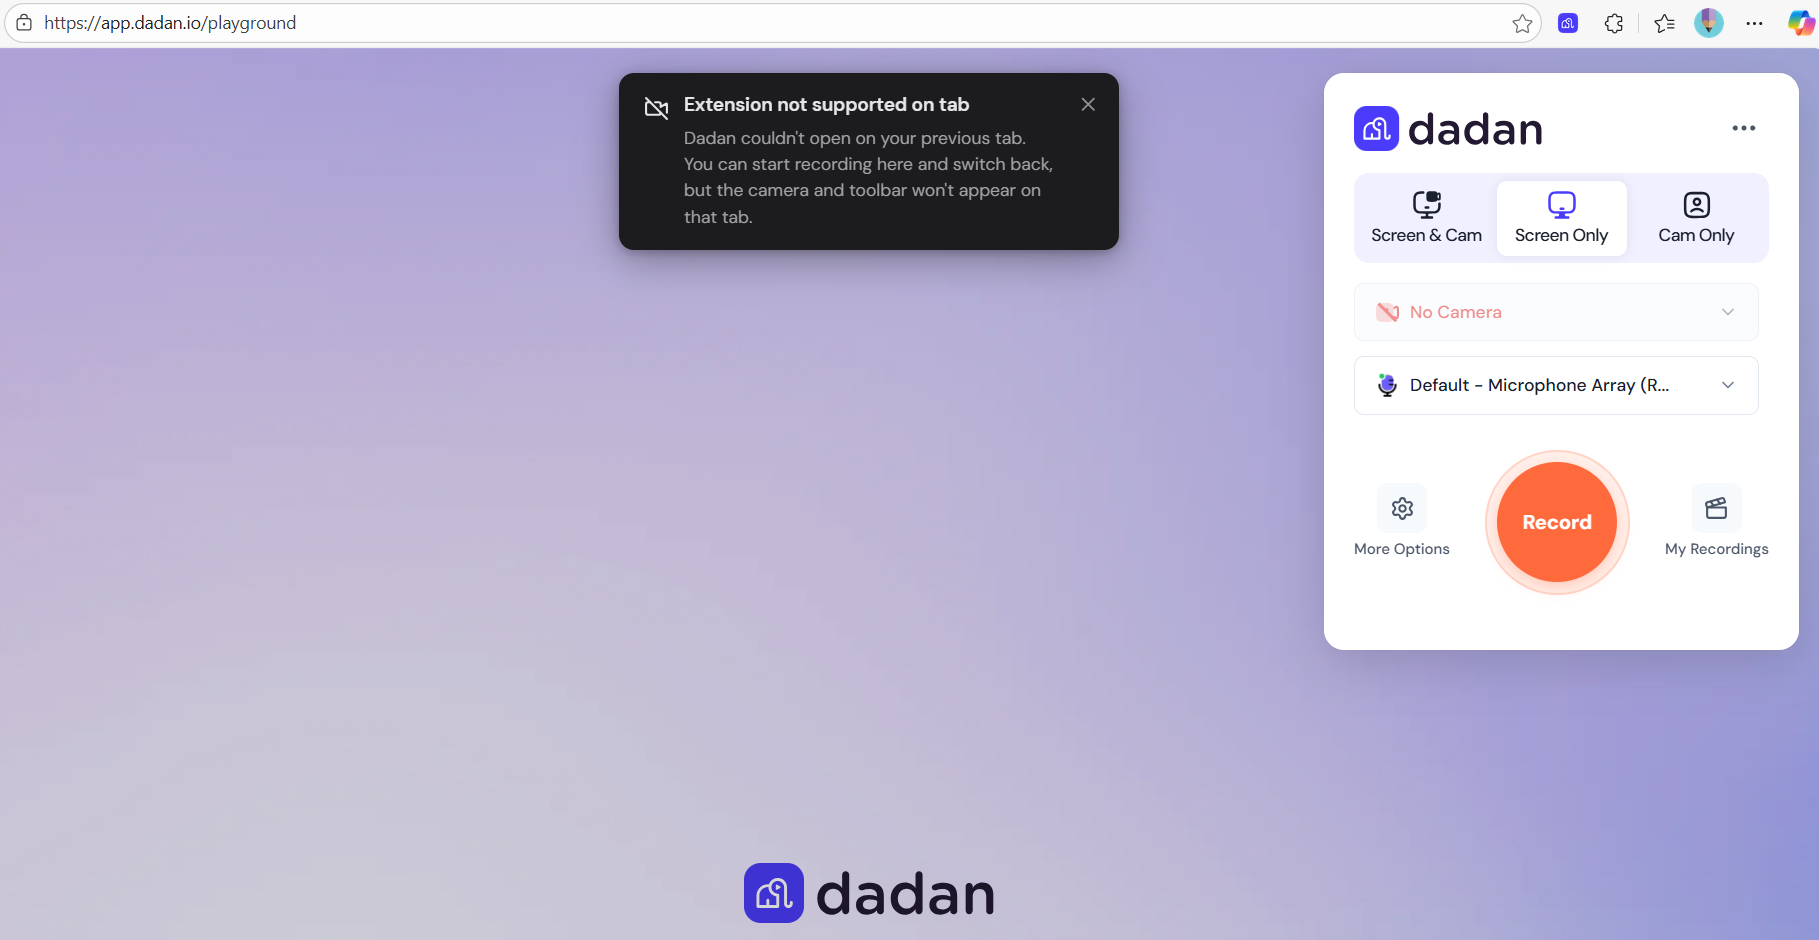
- The camera bubble will pop in and out whenever you switch between tabs.
Are you also using dadan on your desktop? Check out our guide to using dadan on desktop.


