Dadan Advanced Online Video Editor helps you edit your videos with ease. It is a user-friendly online tool for creating and editing videos with ease. This editor lets you create professional-looking videos by adding videos, text, captions, stickers, uploads, effects like blur and zoom, and more.
Access dadan advanced online video editor #
To open the advanced online video editor:
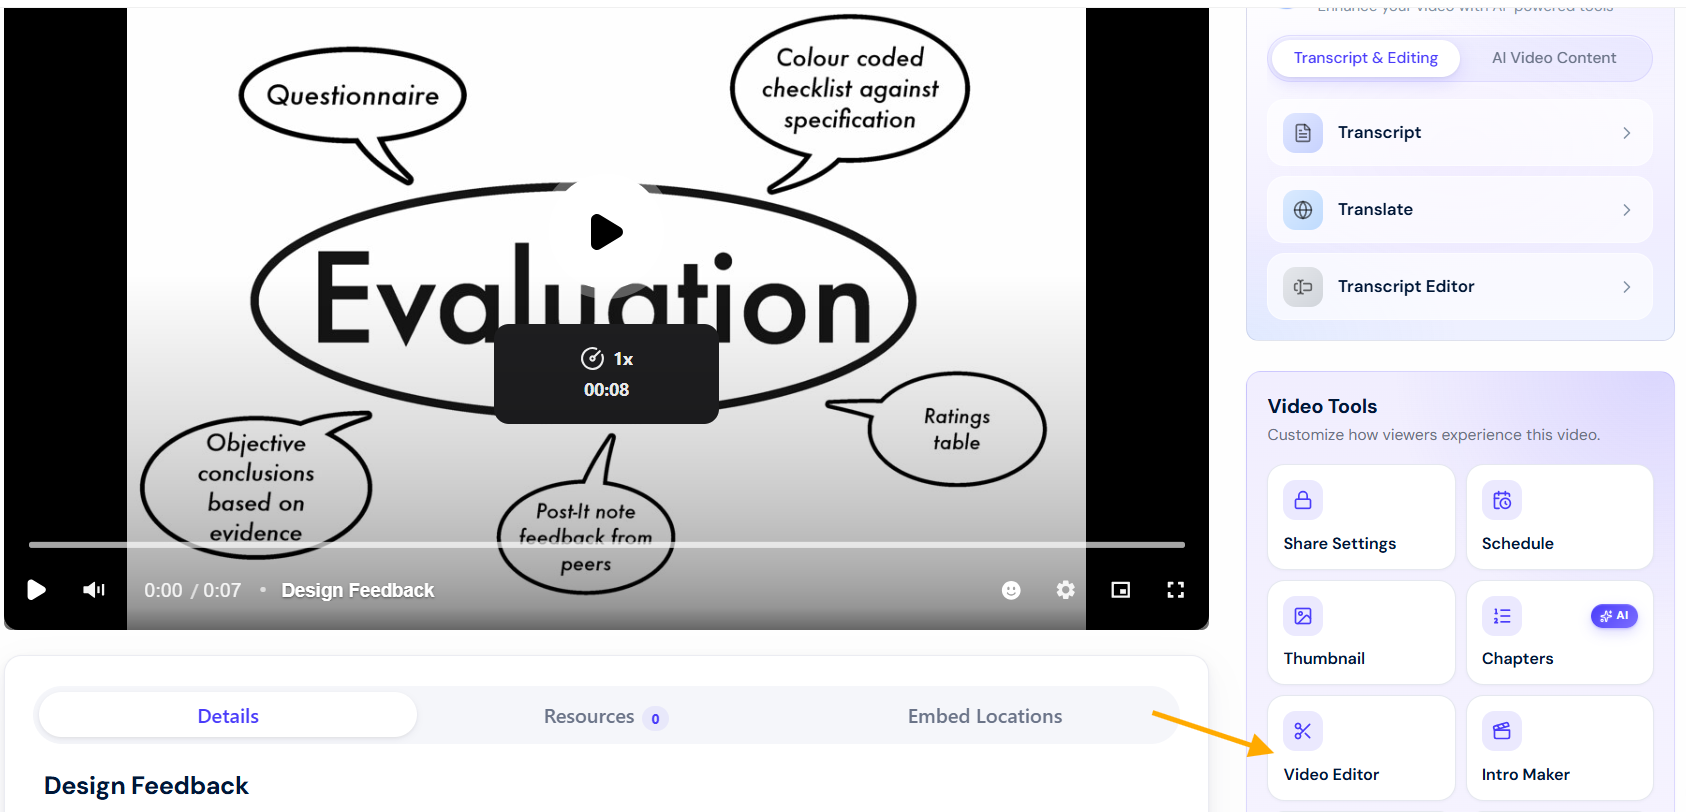
- Open the video you want to edit.
- In the playback screen, under Video Tools, click the Video Editor button.
Editor canvas #
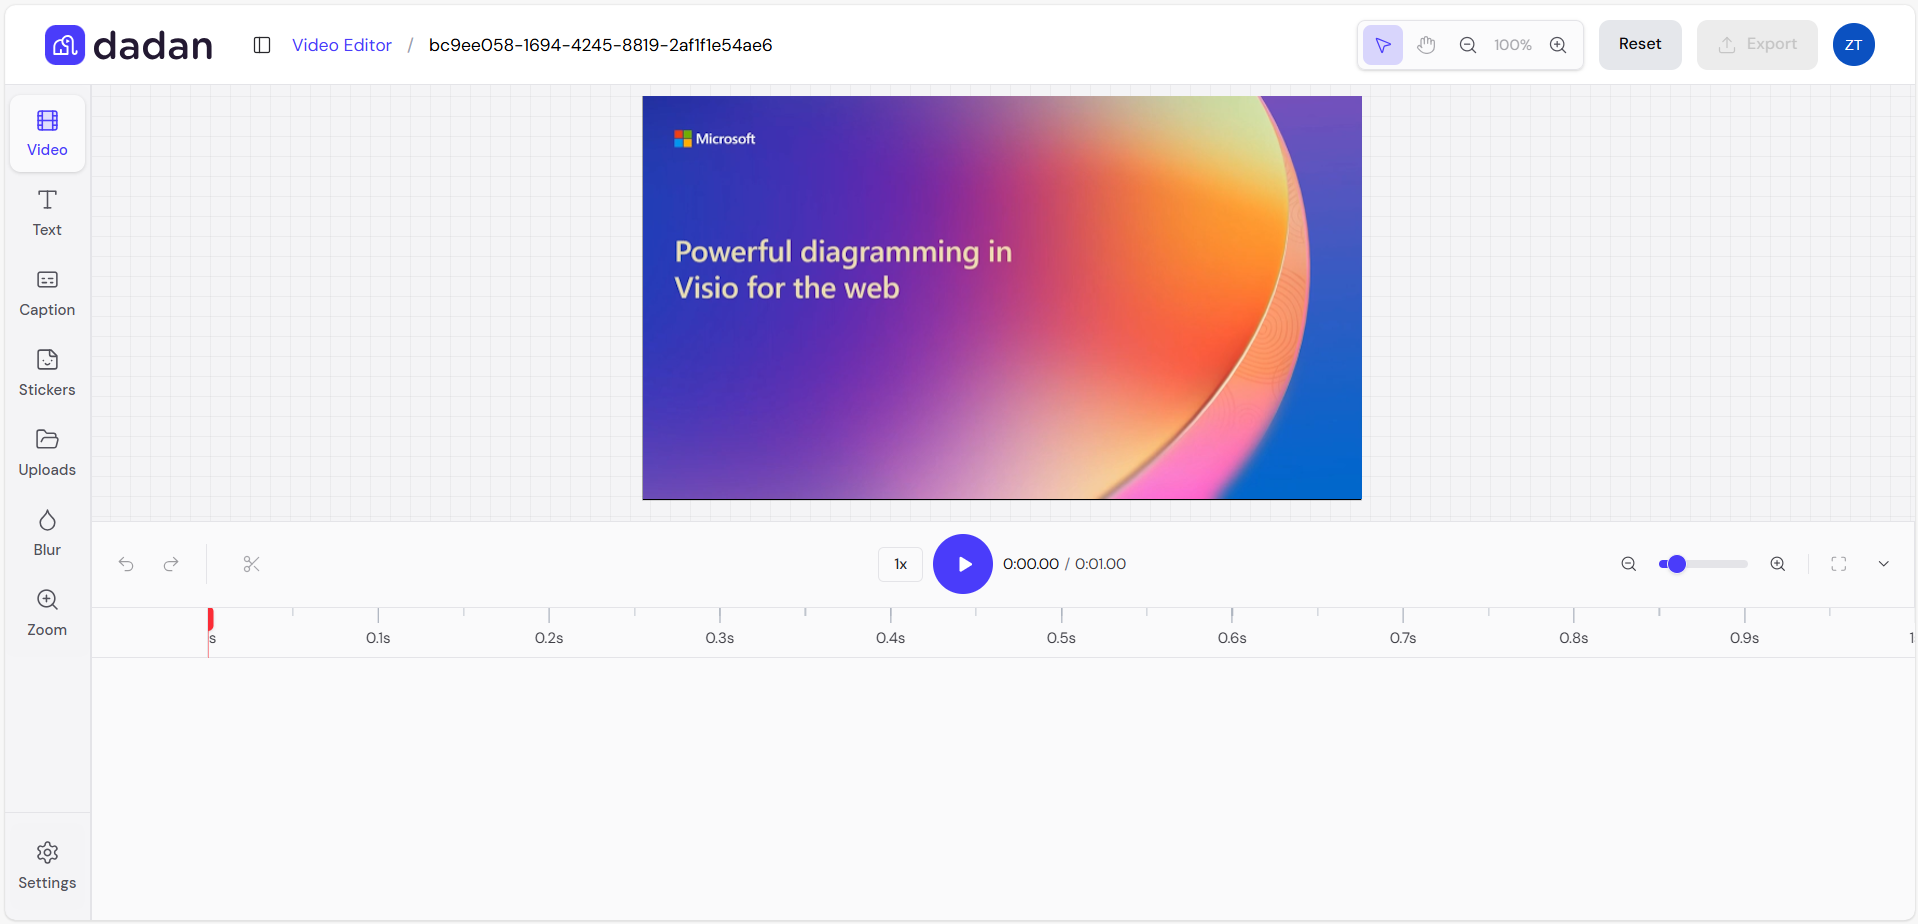
The dadan editor interface features a clean, modern design with a left sidebar for quick access to features, a central canvas for previewing your video, a bottom timeline for editing clips with layers, and controls on top to zoom, reset, and export your project.
This advanced editor comes with stock media library integration, local device uploads, and a range of editing tools to enhance your videos. You can search for stock videos, add text styles, apply effects, and manage settings.
Videos #
The Video section is the starting point for adding and managing video clips in your project. It’s represented by the film reel icon in the sidebar.
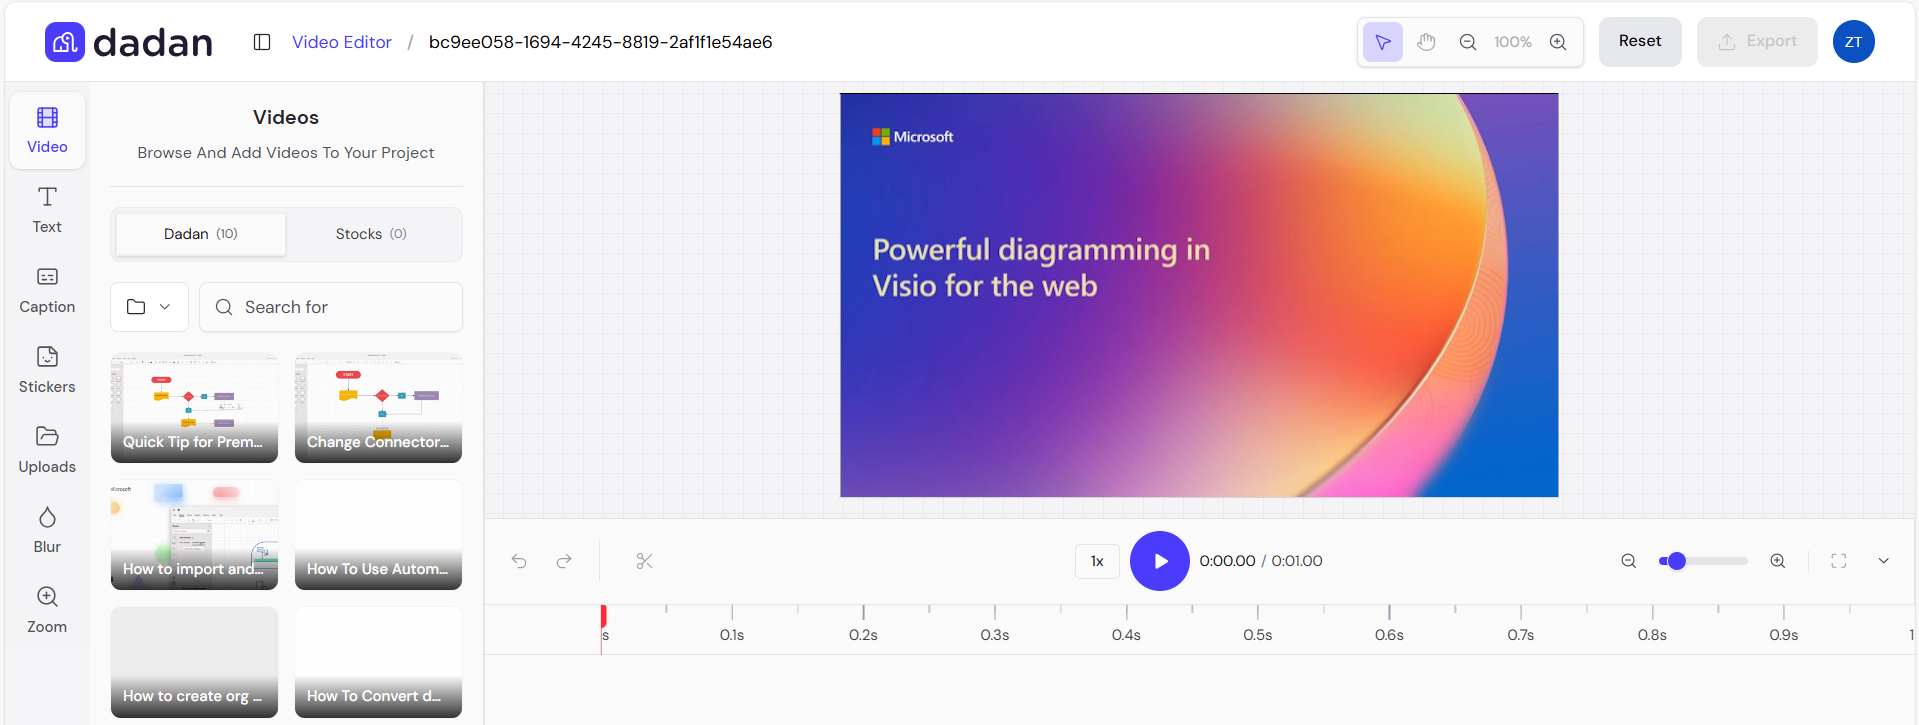
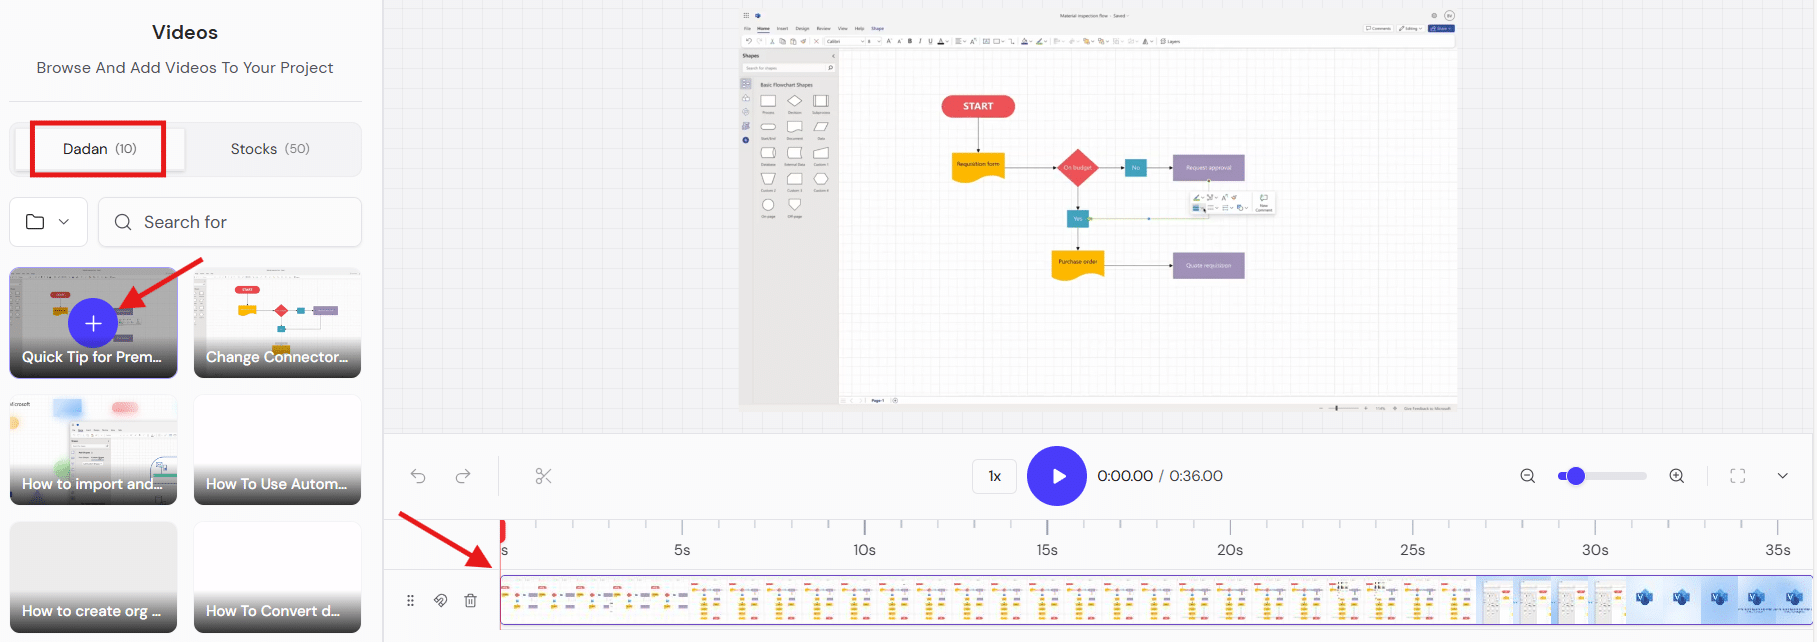
- Browsing and adding videos: In the dadan tab, select your dadan video to add it to the canvas timeline.
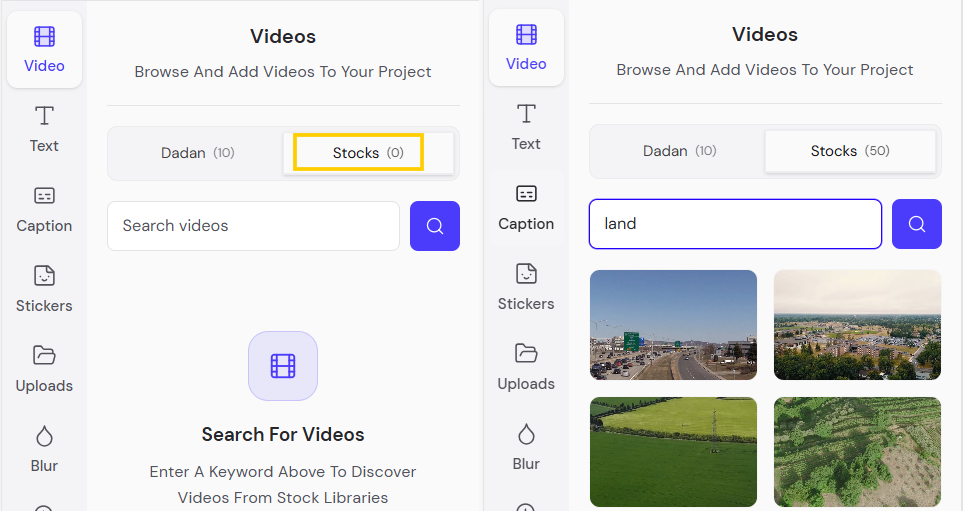
- Stock library search: In the stocks tab, enter keywords in the Search videos field. Results appear as thumbnails for quick previews (e.g., “land” shows landscape footage, highways, fields, and terraced farms).
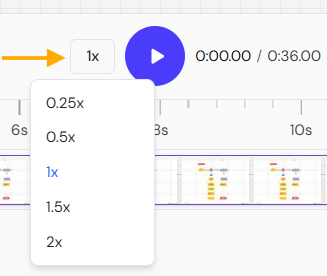
- Canvas’s timeline: When you add a video to the canvas and timeline. It shows the clip duration (e.g., 0:00:00 / 0:36:00) and playback controls, including play/pause, speed (0.25x, 0.5x, 1x, 1.5x, and 2x), and zoom.
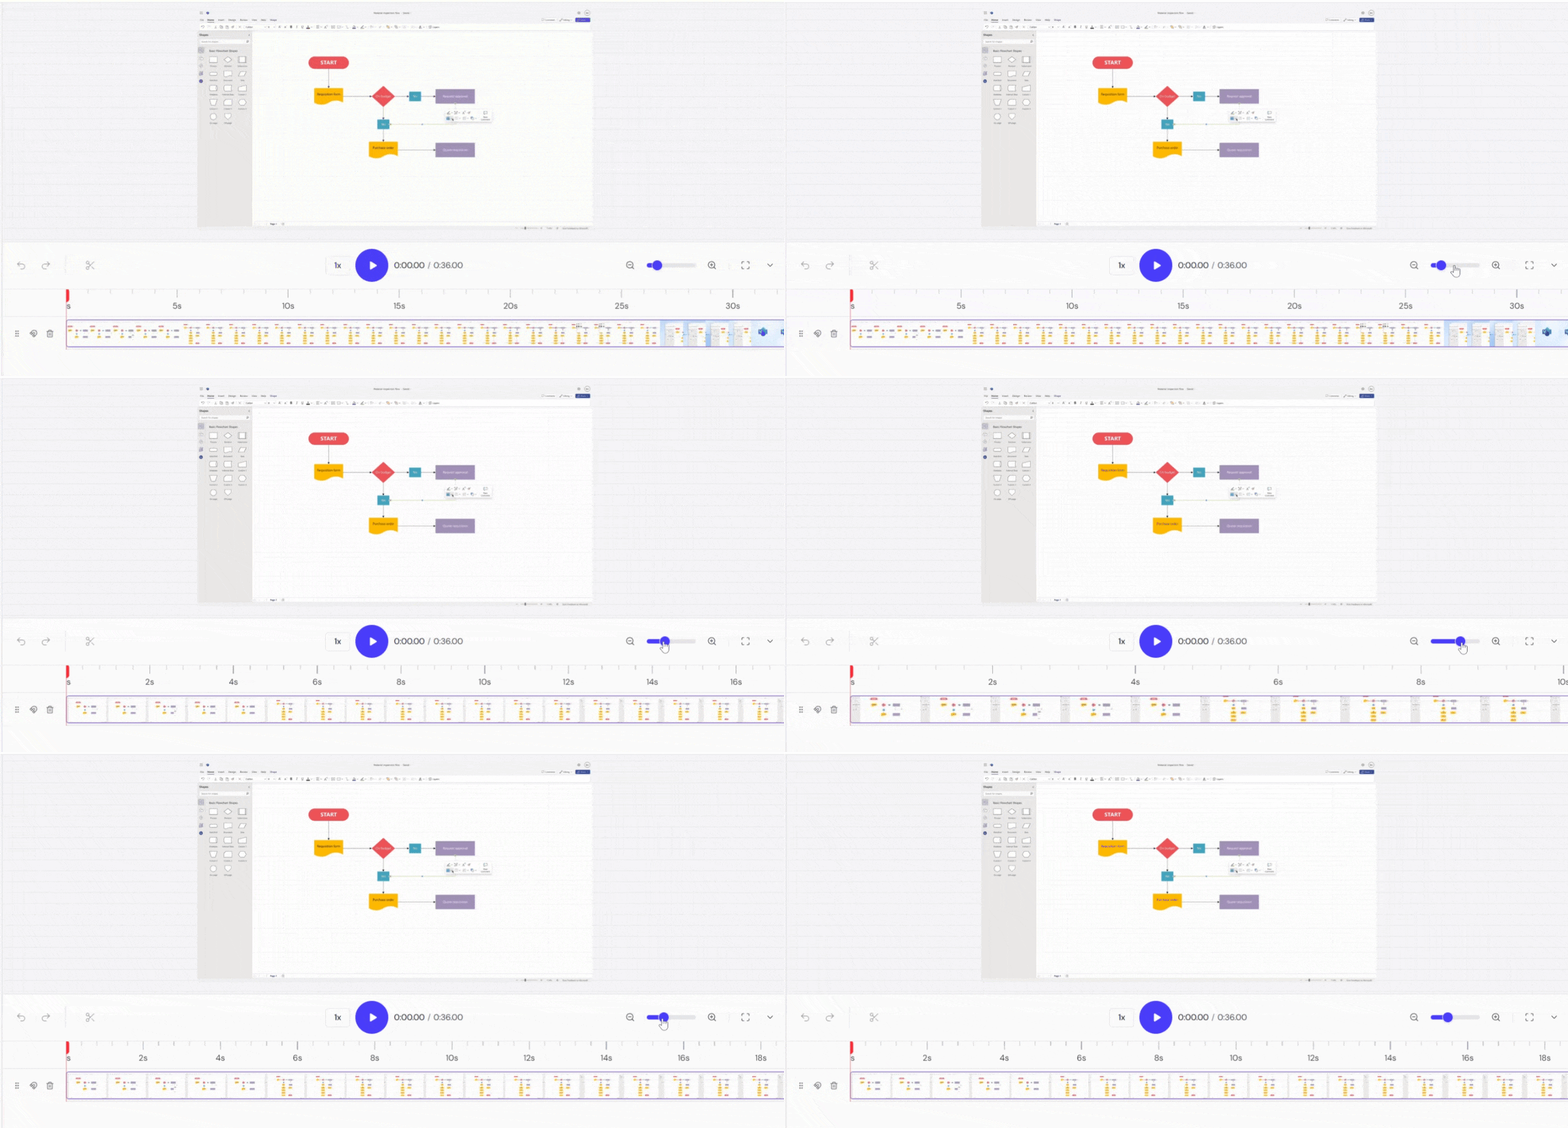
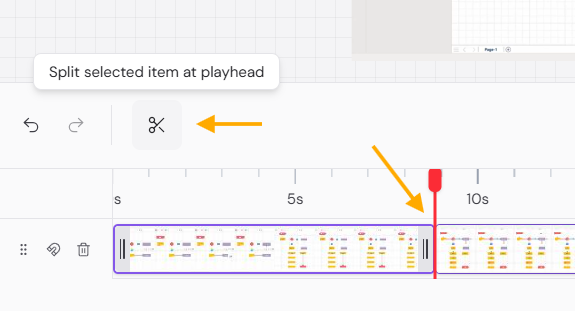
- Editing and trimming clips: Use the timeline to split and move clips by dragging edges. The playhead (red line) allows precise splitting via the split icon. The clip positioning is via drag-and-drop.
- The zoom controls help navigate longer timelines for easier splitting.
Note: Use the Undo and Redo icons to undo and redo any edits you made.
Text Styles #
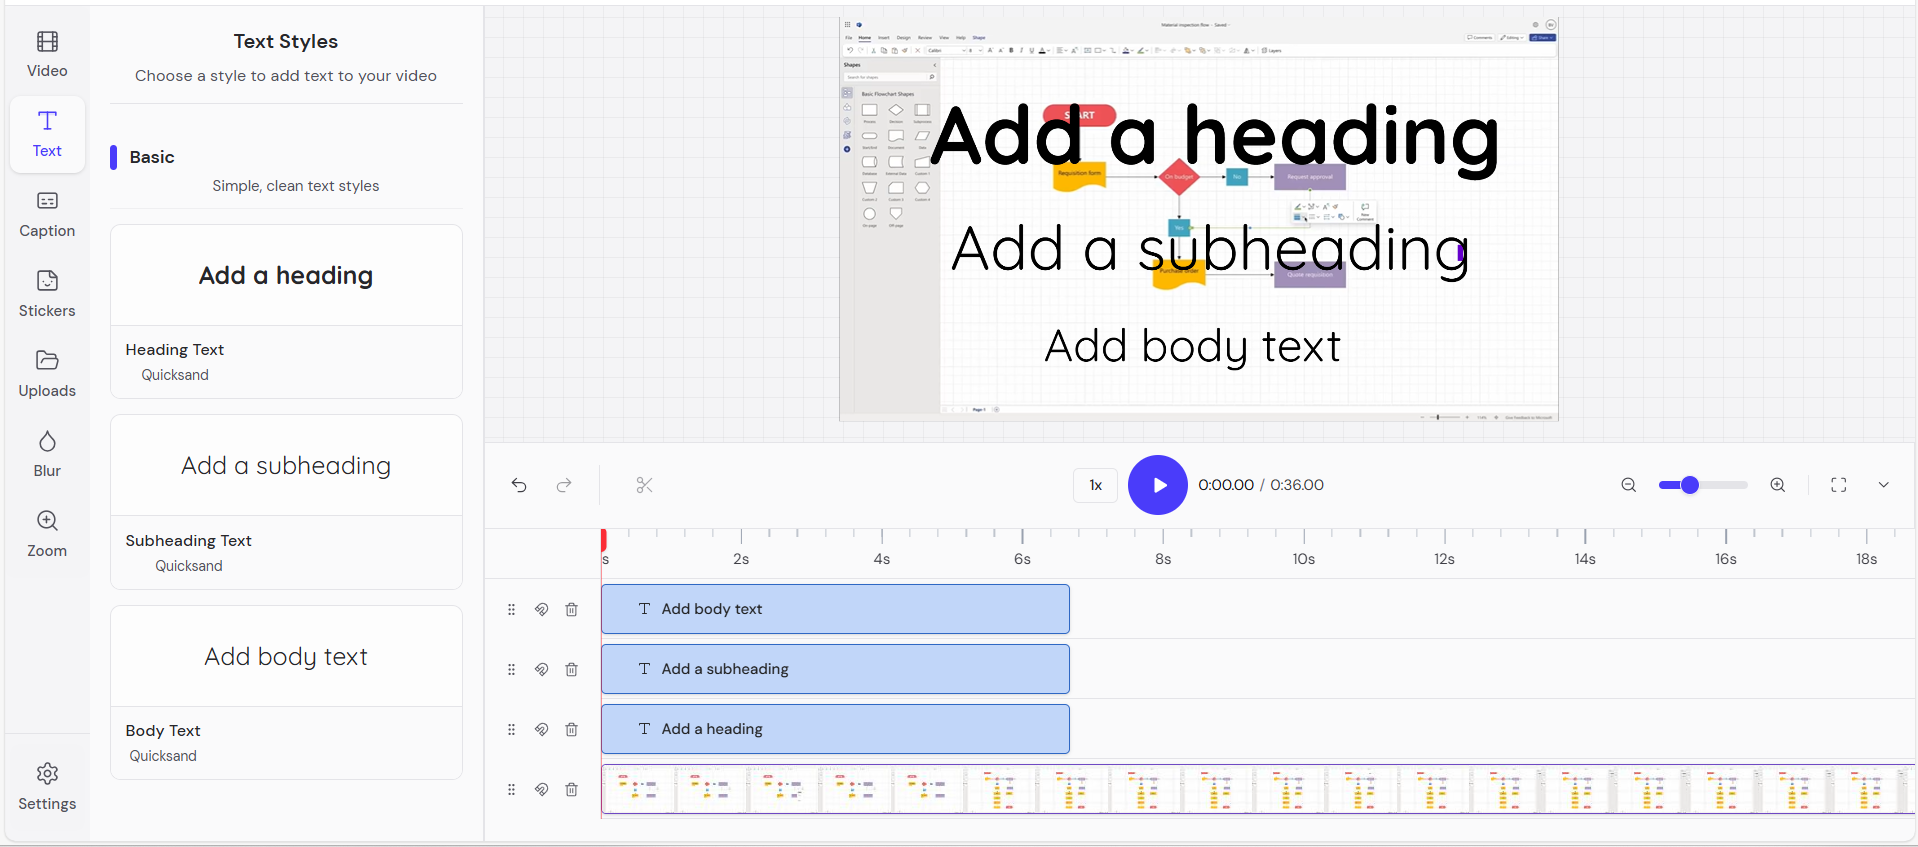
The Text section allows you to add and style text overlays, such as headings, subheadings, and body text, to your video.
- Text Styles: Choose from predefined styles, such as Basic, for simple, clean text.
- Options in Basic include all in the Quicksand font by default:
- Add a heading.
- Add a subheading.
- Add body text.
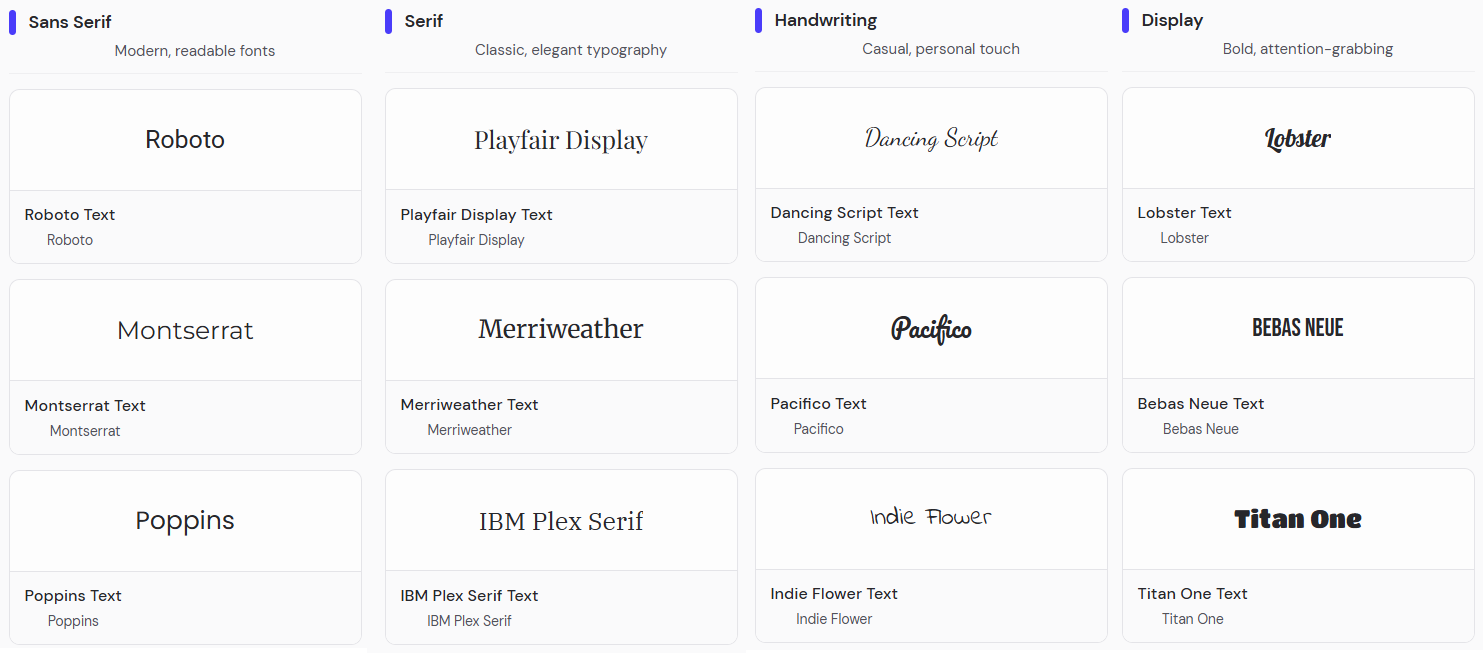
- Other text styles: Sans Serif, Serif, Monospace, Handwriting, and Display.
- Adding Text: Select a style to add it to the canvas.
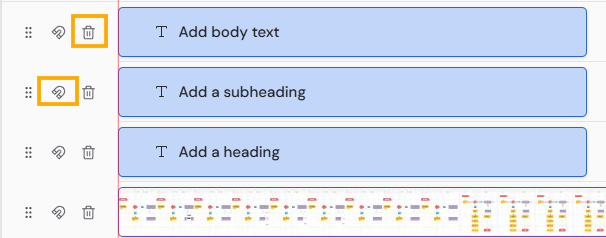
- Text appears on the timeline as blue bars, which you can drag, resize, or delete using icons such as a trash can or a magnet for snapping.
- Editing properties: Once added, edit via the right panel:
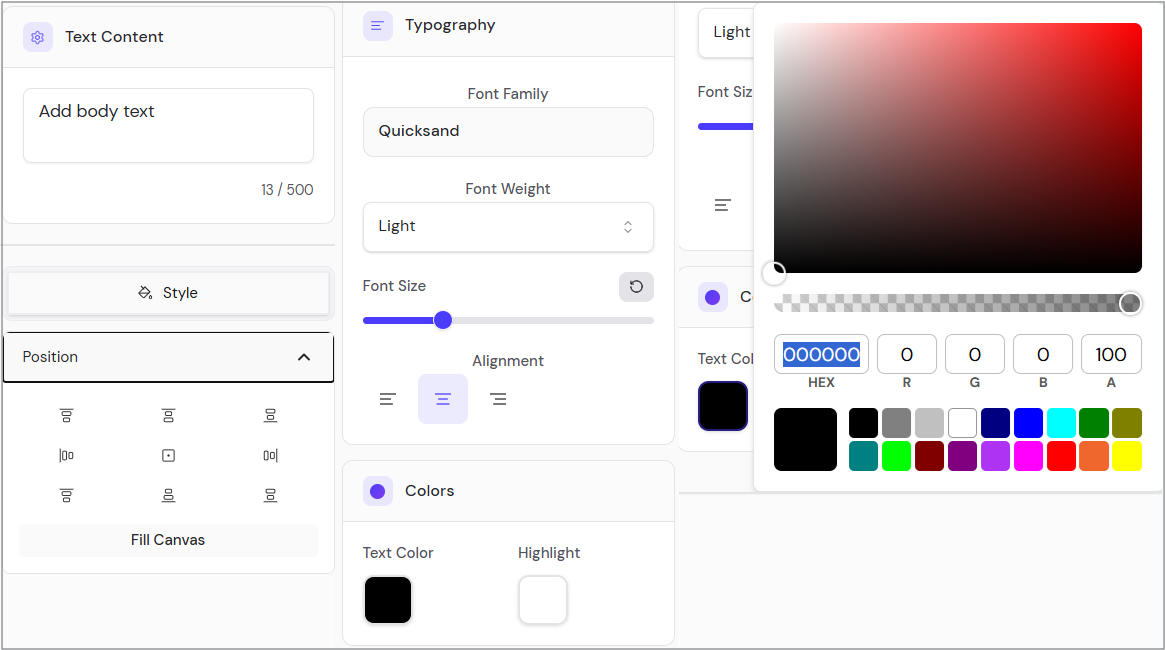
- Text content: Change the text with a character limit.
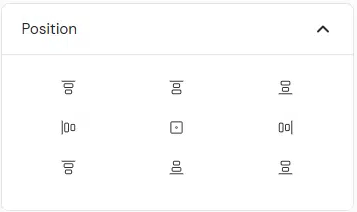
- Style: Adjust position with alignment options (top-left, center, bottom-right, etc.) or “Fill Canvas”.
- Typography: Select:
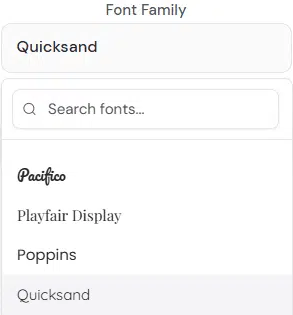
- Font family (e.g., Quicksand; search for others like Bebas Neue, Dancing Script, etc.).
- Font weight (e.g., Light).
- Font size (slider).
- Font alignment (left, center, right).
- Colors: Set text color (HEX, RGB) and highlight color from the palette.
- Font search: Drop-down shows fonts (like Merrieweather, Montserrat), with a search bar for more.
Captions #
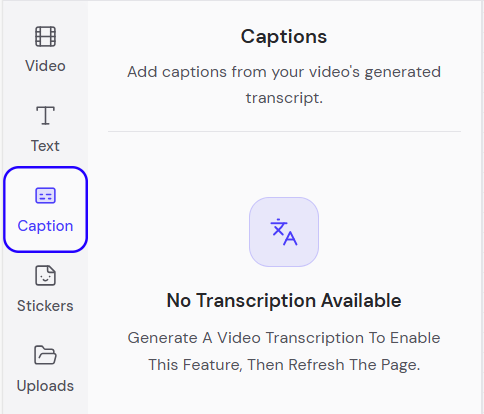
The Captions section is for adding subtitles or captions derived from video transcripts. It’s represented by a subtitle icon.
- Adding captions: Access Captions relies on a video transcript. If no transcript exists, a message says, “Generate A Video Transcription to Enable This Feature, Then Refresh the Page.”
- Timeline placement: Captions appear as timed text overlays on the timeline after they are added. You can add up to two languages.
Stickers & Shapes #
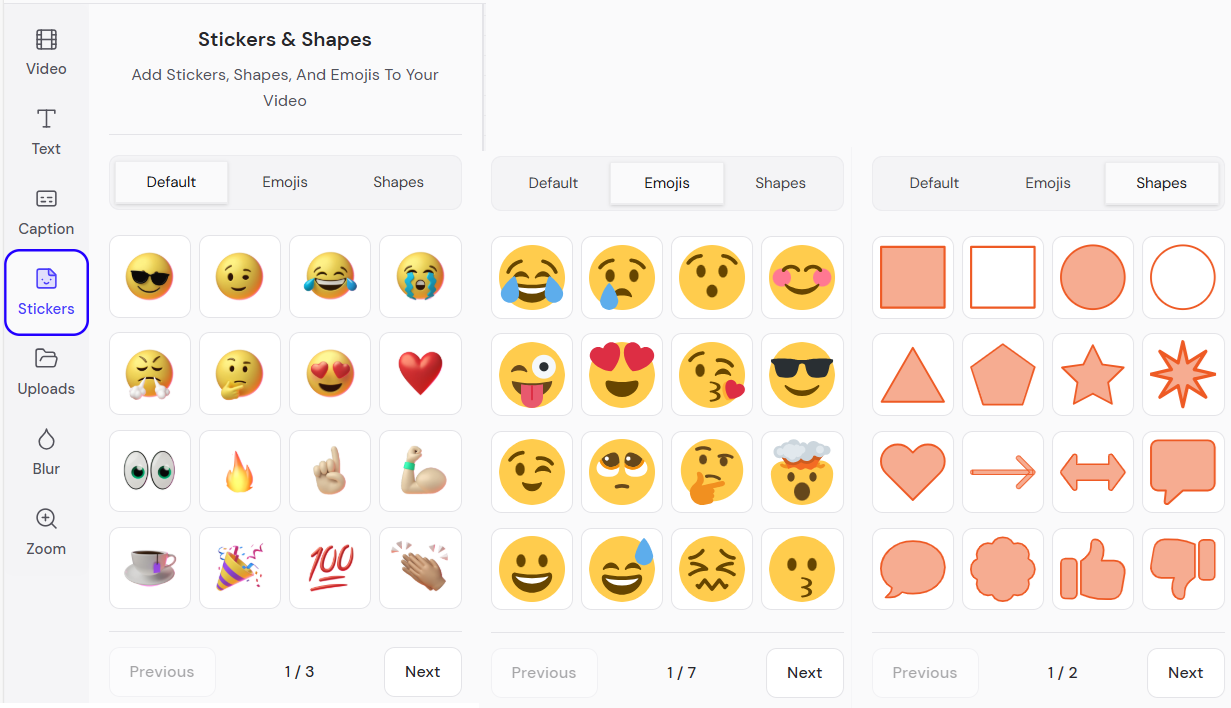
The Stickers & Shapes section lets you add fun elements like emojis, shapes, and stickers to enhance your video visually. It’s shown with a smiley face icon.
- Categories: Tabs include Default, Emojis, and Shapes.
- Adding stickers: Browse grids of options, such as sunglasses, laughing face, heart, eyes, fire, thumbs up, coffee cup, party popper, 100, and clapping hands.
- Placement: Add to the canvas by clicking, then position, resize, or rotate as needed.
- Timeline: Stickers appear as layers on the timeline for timing control.
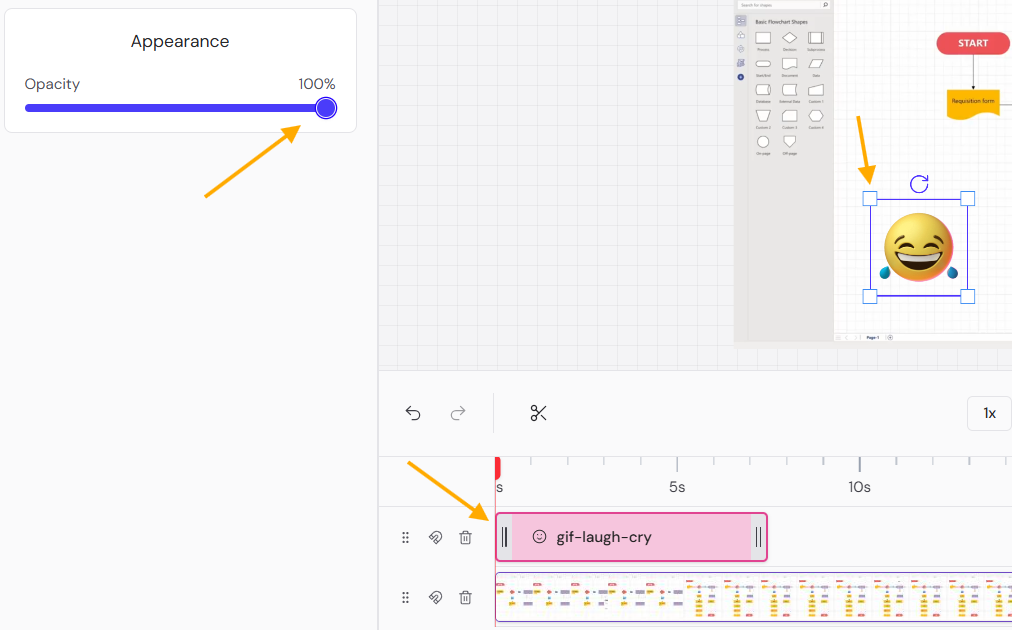
- Emoji appearance controls: Adjust opacity (0–100%) via the slider in the right panel.
- On the timeline, drag/trim the pink (e.g., “gif-laugh-cry”) layer to control timing; resize and position the emoji directly on the canvas using its bounding box.
Uploads #
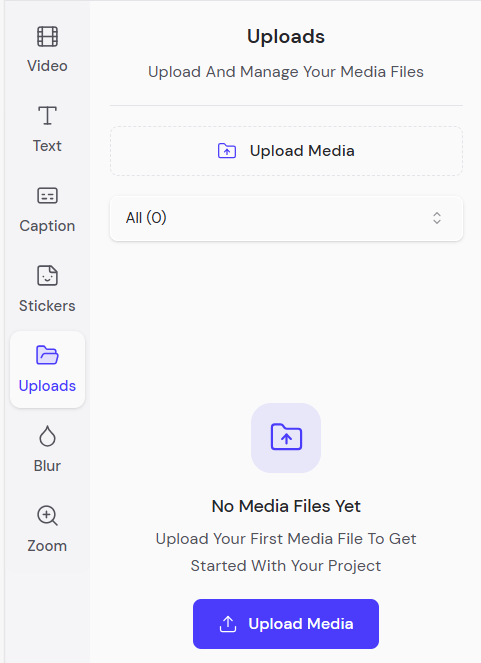
The Uploads section manages custom media files you add to your project. It’s indicated by a folder icon.
- Click the blue Upload Media button to add files.
- Supported file formats: .xbm, .tif, .jfif, .pjp, .apng, .jpe, .jpeg, .heif, .ico, .tiff, .webp, .svgz, .jpg, .heic, .gif, .svg, .png, .bmp, .pjpeg, .avif, .mp4, .mpe, .mpg, .ogm, .wmv, .mp4, .webm, .ogv, .mov, .m4v, .asx, .mp4, .avi, .opus, .flac, .webm, .weba, .wav, .ogg, .m4a, .oga, .mid, .mp3, .aiff, .wma, .au.
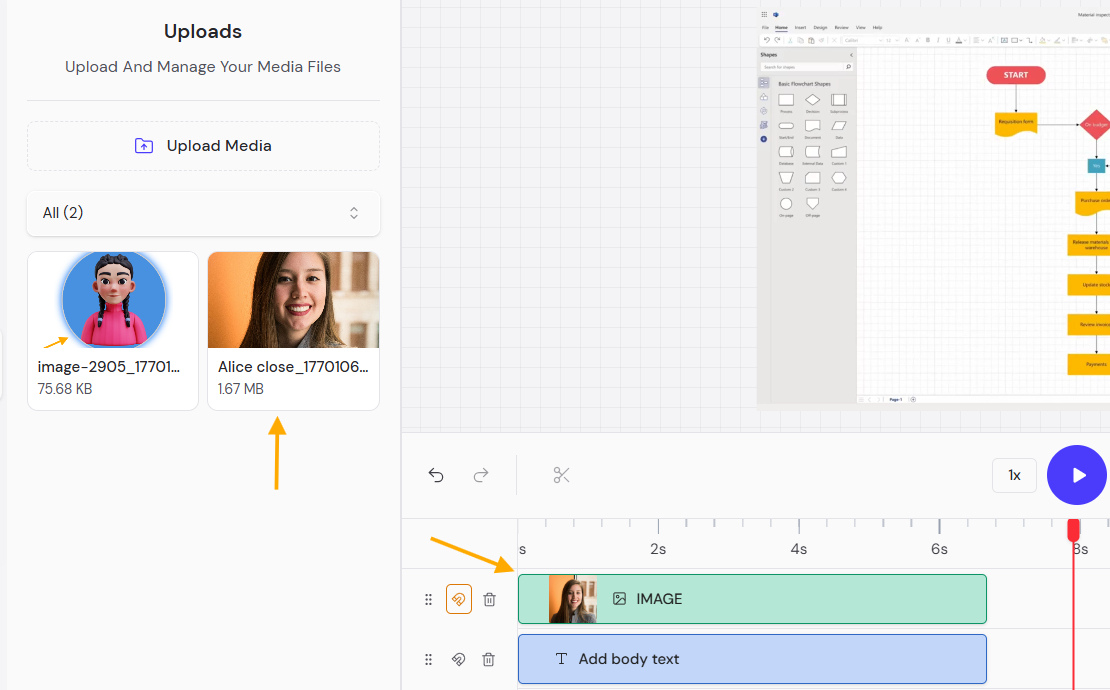
- Uploads: View uploaded files with thumbnails, names, and sizes.
- Drag or select uploads to the canvas/timeline; they appear as layers.
Blur Effect #
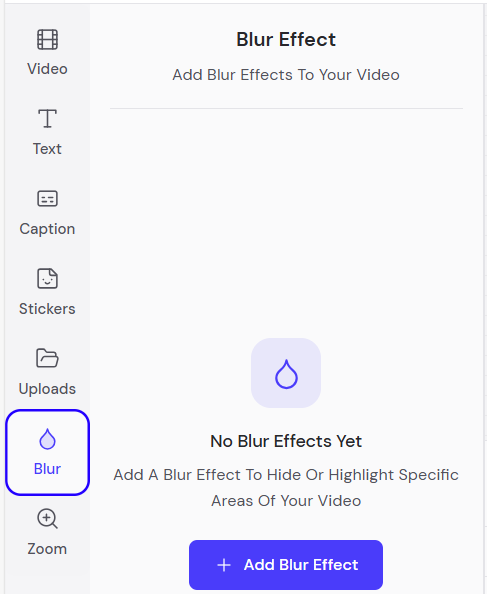
The Blur Effect section applies blur effects to hide or highlight areas in your video. It’s marked by a water drop icon.
- Adding Blur: Click the + Add Blur Effect blue button.
- Canvas application: Blur appears as a selectable area on the canvas. Adjust via drag or settings.
- Timeline: Blur layers (cyan “Blur” bar) for timed application.
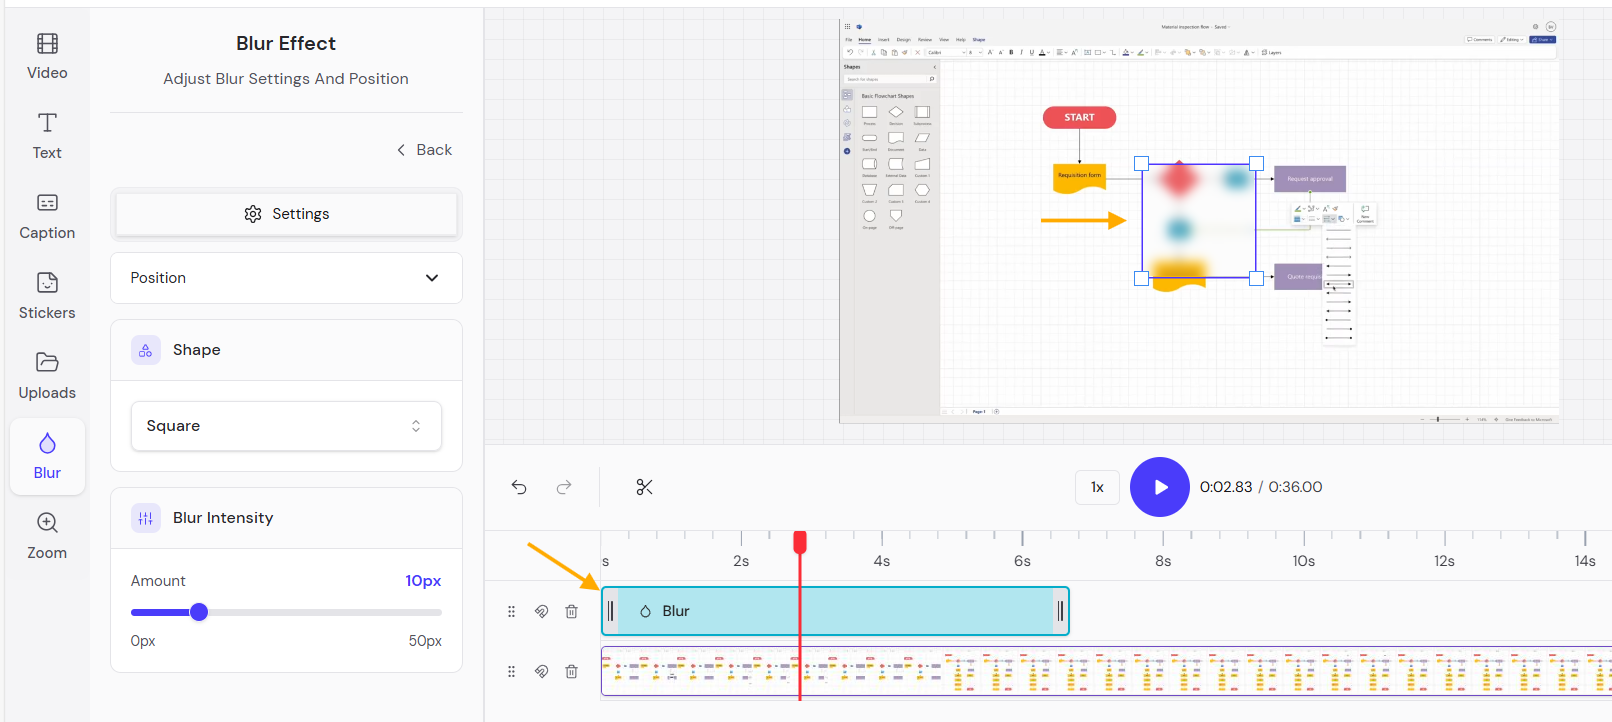
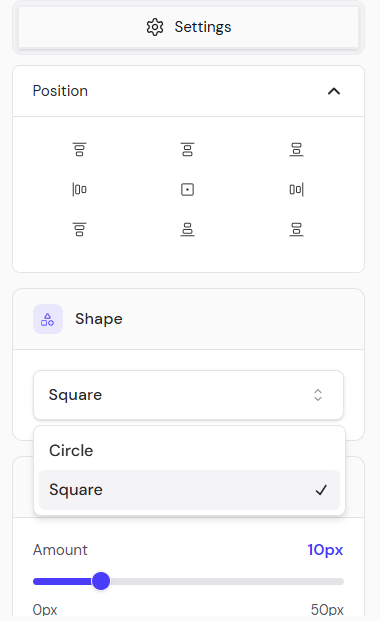
- Blur settings: In the blur editor:
- Position: Alignment grid similar to text.
- Shape: Choose Square or Circle.
- Blur intensity: Slider for Amount (0px to 50px), (default 10px).
Zoom Effect #
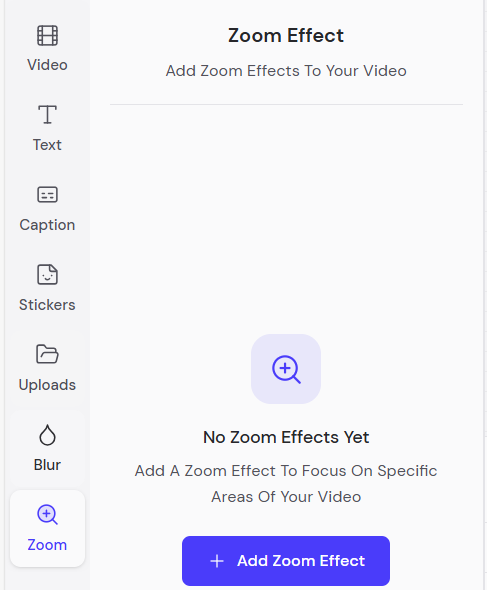
The Zoom Effect section adds dynamic zoom effects to focus on specific areas. It’s represented by a magnifying glass icon with a crosshair “+”.
- Adding Zoom: Click the + Add Zoom Effect blue button.
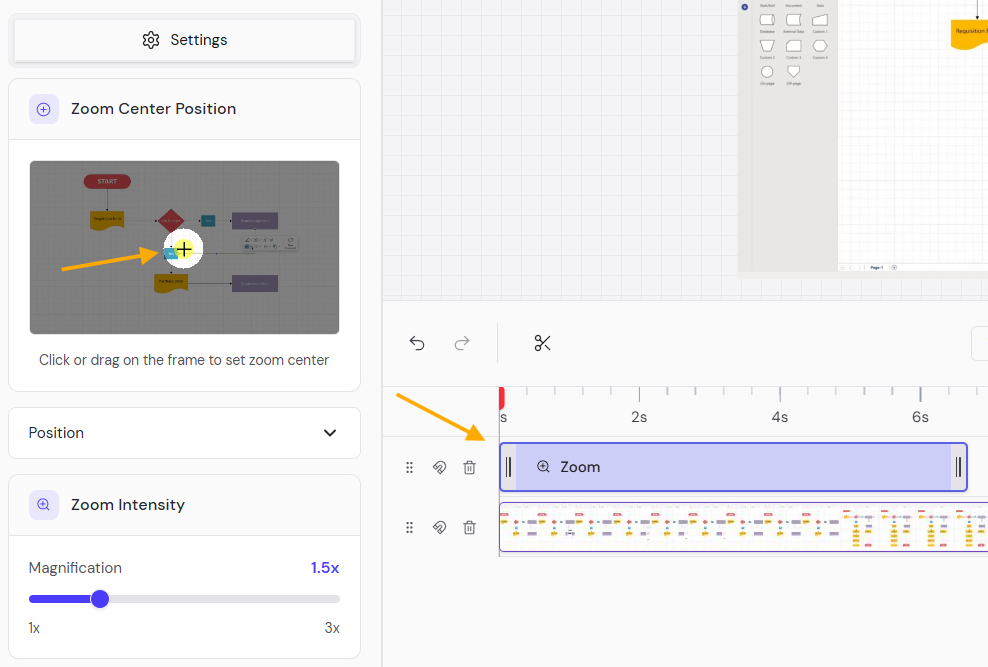
- Zoom settings:
- Zoom center position: Click or drag on the frame to set the center (crosshair “+”).
- Position: Alignment options.
- Zoom intensity: Magnification slider (1x to 3x), (default 1.5x).
- Canvas and timeline: Apply to clips, shown as purple Zoom layers on the timeline.
Editor settings #
The Settings section customizes editor preferences and saves history. It’s shown with a gear icon.
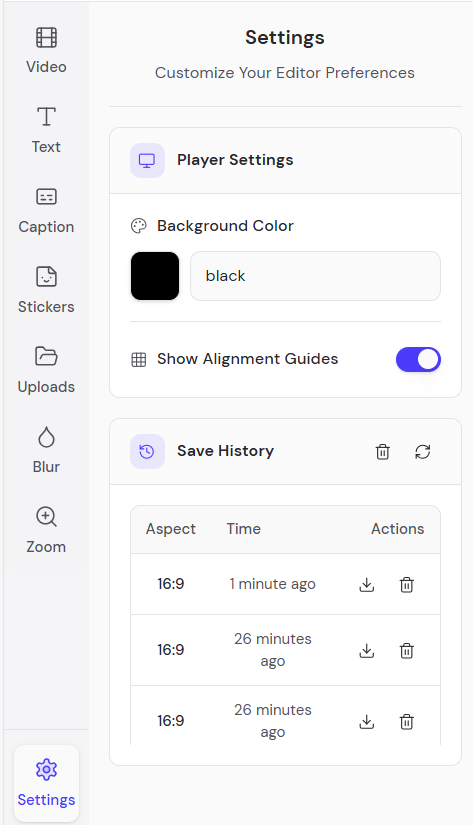
- Player Settings: Set the background color (e.g., black).
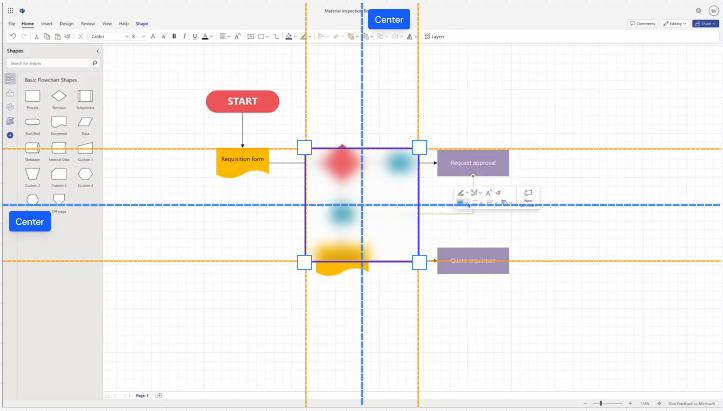
- Show Alignment Guides toggle: Displays orange horizontal/vertical center lines and blue grid guides on the canvas to help precisely align and center shapes, text, and elements
- Save History: View previous versions by aspect ratio (e.g., 16:9), time ago (e.g., 1 minute ago), with download and delete options.
Video clip settings (when selected) #
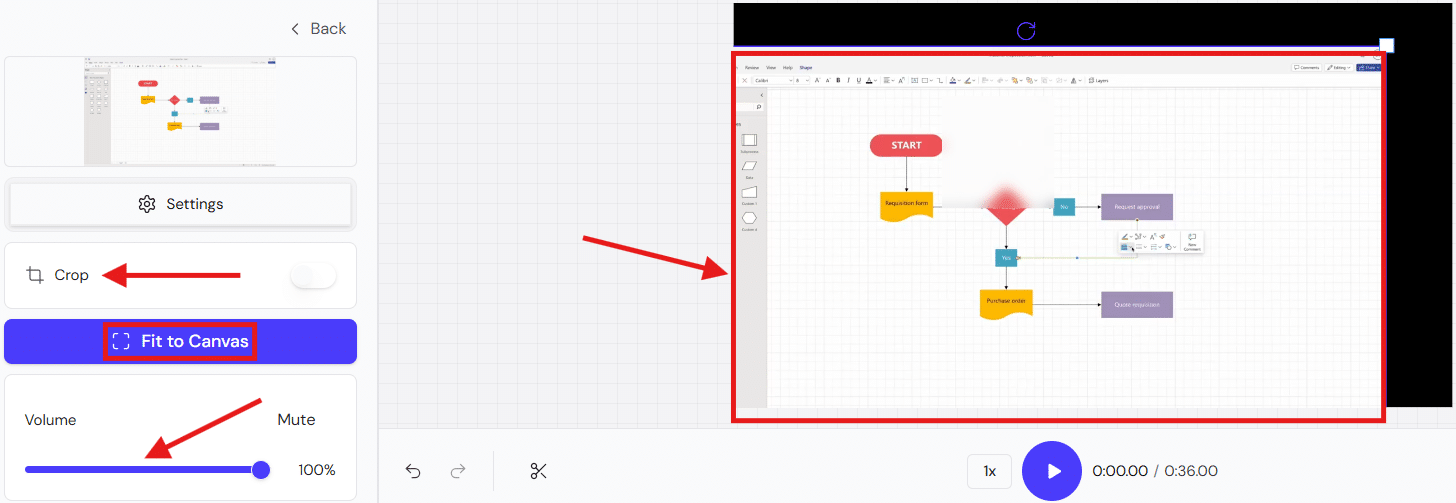
These options appear when you click a video layer on the timeline, allowing quick adjustments to framing and sound without affecting other elements.
The right-side panel for a selected video clip on the timeline shows:
- Drag to move the video clip sheet.
- Crop tool: Toggle Crop on (white/blue switch) to manually trim video edges using drag handles on the canvas; select from preset aspect ratios (16:9, 9:16, 1:1, 4:5, 5:4, 4:3, 3:4, 21:9) or fine-tune freely, including a Reset button to revert changes (off by default).
- Enable Fit to Canvas to automatically scale/resize the video to fill the preview frame without black bars.
- Adjust Volume slider (currently 100%) or toggle Mute to control audio levels for the clip.
Reset and save changes #
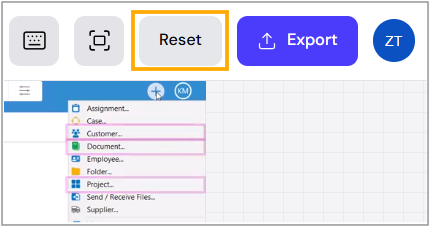
To reset your video project to its original status, click Reset.
In the prompt message, click Discard Changes to confirm the reset, or click Cancel to cancel the reset.
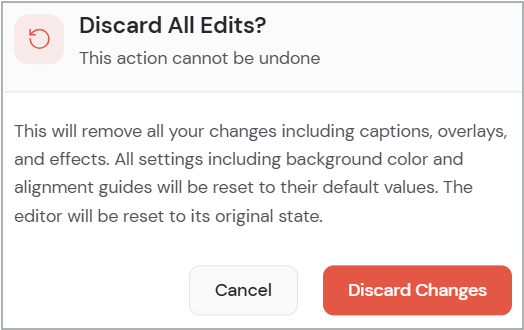
Warnings:
- This action cannot be undone.
- This will remove all your changes, including captions, overlays, and effects.
- All settings, including background color and alignment guides, will be reset to their default values.
- The editor will be reset to its original state.
To save edits, click Export.
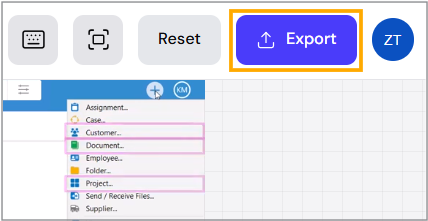
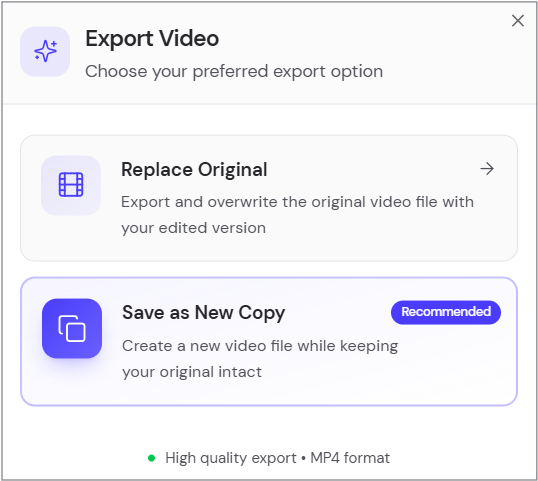
In the prompt message, select your preferred export option:
- Replace Original: Export and overwrite the original video file with your edited version. (Format: MP4).
- Save as New Copy: (Recommended) Create a new video file while keeping your original intact. High-quality export, MP4 format.